Chapter 1 Installation and Prerequisites
1.1 Installation
1.1.1 GitHub
ProViz is a Shiny application written in R. The source code is available on GitHub in SomaLogic’s ProViz repository.
To use ProViz, it is recommended to install R and RStudio, clone the ProViz repository or download the code, and run it using the RStudio IDE. See RStudio’s Shiny page for details of using RStudio to run a Shiny application. RStudio’s Shiny Server can also be used to run ProViz from a server, providing access through a managed web portal.
Some additional packages are required for ProViz. Following is a list of the required packages and the versions used during ProViz development and testing. All of the following packages are available through The Comprehensive R Network - CRAN.
- DT (0.17)
- dplyr (1.0.6)
- ggbeeswarm (0.6.0)
- ggplot2 (3.3.3)
- magrittr (2.0.1)
- plotly (4.9.3)
- readr (1.4.0)
- shiny (1.6.0)
- shinydashboard (0.7.1)
- shinyWidgets (0.6.0)
- tidyr (1.1.3)
Additionally, ProViz uses the SomaDataIO v5.1.0 package available from SomaLogic’s SomaDataIO GitHub repository. Note that SomaDataIO requires the BioBase package from Bioconductor, which requires a slightly different installation procedure:
if (!requireNamespace("BiocManager", quietly = TRUE)) {
  install.packages("BiocManager")
}
BiocManager::install("Biobase")
Installing dependencies can be accomplished using the remotes package and the following series of R commands.
# install the remotes package
install.packages('remotes')

# install the individual dependencies
remotes::install_version('DT', version = '0.17',
                         repos = 'http://cran.us.r-project.org')
remotes::install_version('dplyr', version = '1.0.6',
                         repos = 'http://cran.us.r-project.org')
remotes::install_version('ggbeeswarm', version = '0.6.0',
                         repos = 'http://cran.us.r-project.org')
remotes::install_version('ggplot2', version = '3.3.3',
                         repos = 'http://cran.us.r-project.org')
remotes::install_version('magrittr', version = '2.0.1',
                         repos = 'http://cran.us.r-project.org')
remotes::install_version('plotly', version = '4.9.3',
                         repos = 'http://cran.us.r-project.org')
remotes::install_version('readr', version = '1.4.0',
                         repos = 'http://cran.us.r-project.org')
remotes::install_version('shiny', version = '1.6.0',
                         repos = 'http://cran.us.r-project.org')
remotes::install_version('shinydashboard', version = '0.7.1',
                         repos = 'http://cran.us.r-project.org')
remotes::install_version('shinyWidgets', version = '0.6.0',
                         repos = 'http://cran.us.r-project.org')
remotes::install_version('tidyr', version = '1.1.3',
                         repos = 'http://cran.us.r-project.org')
remotes::install_github('Somalogic/SomaDataIO@v5.1.0')
Once all dependecies have been installed successfully, open RStudio and navigate to the folder containing the ProViz R code. Open any of the R code files - global.R, ui.R, or server.R. The code window in RStudio will have a button at the top-left that says ‘Run App’. Press this button to start ProViz. See RStudio’s Shiny page for details of using RStudio to run a Shiny application.

The Run App button on the server.R code window in RStudio.
Installation of R and RStudio on different operating systems (Windows, Mac OS, or Linux), may require administrator privileges as well as additional steps in order to complete the installation process. Contact your IT professional for assistance if you are not familiar with performing these types of operations.
1.1.2 DockerHub
ProViz can also be run using Docker or Docker Desktop using the image available through SomaLogic’s Dockerhub account. For more information on installing and running Docker Desktop, refer to the Docker Desktop home page.
Once Docker Desktop is installed, the ProViz image can be pulled from dockerhub by executing docker pull somalogic/proviz from a terminal window on Mac or Linux, or from a command prompt on Windows. Once the image has been successfully pulled, the image name will be displayed in the Docker Desktop’s Dashboard application.

Docker Dashboard showing the ProViz image available.
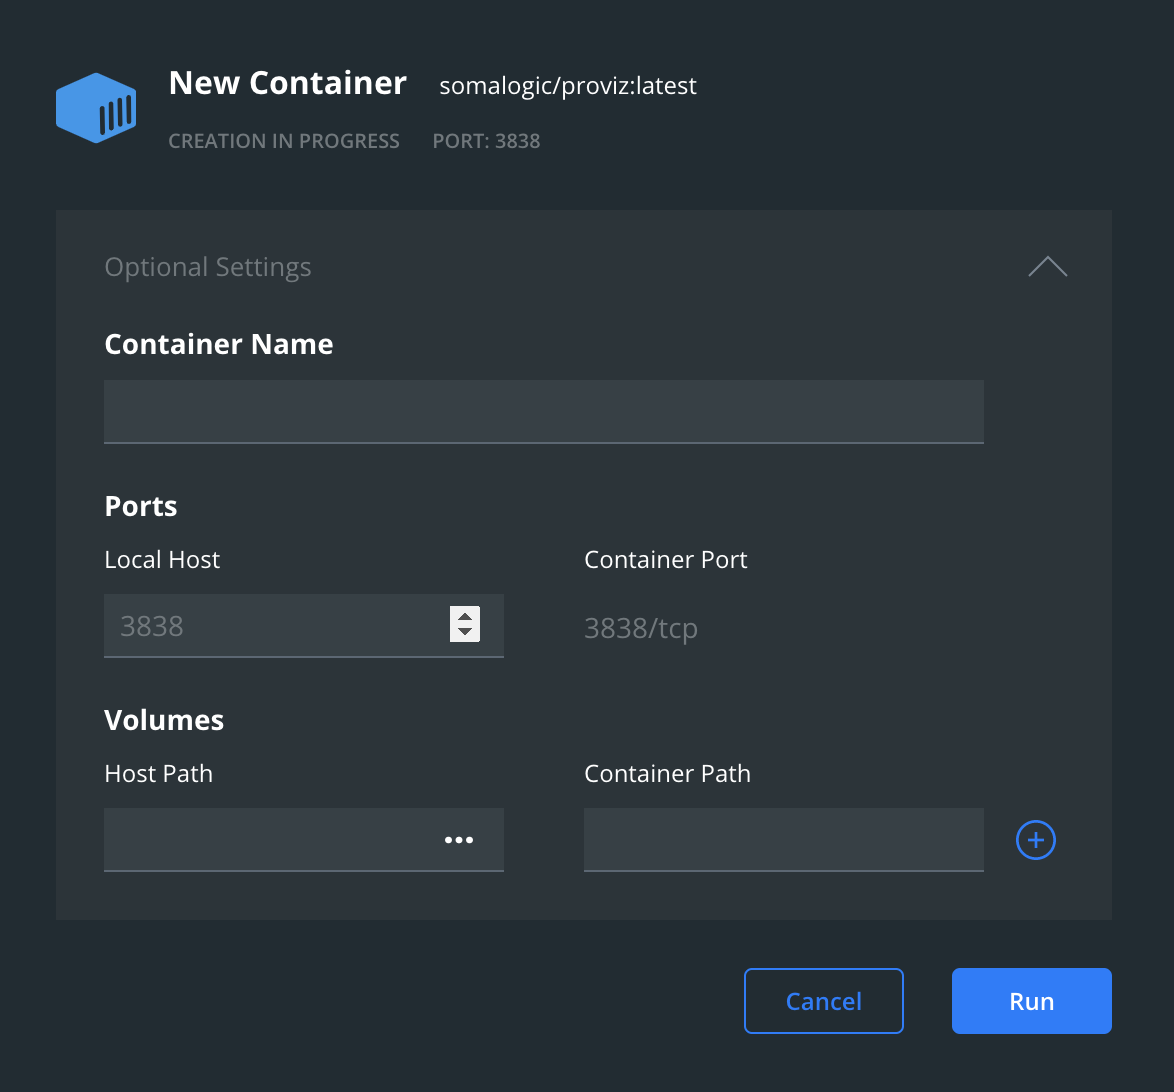
In Docker Desktop, the image can be started by clicking run. A dialog box will be presented in which a local port number needs to be set (Local Port) in order for a web browser to communicate with the running container. Any available port can be used, and the default 3838 is most likely a good option. (You may initially see a smaller dialog box with the port setting hidden. Clicking on the triangle at the right will expand the dialog to show all options.)

Setting the Local Port to 3838.
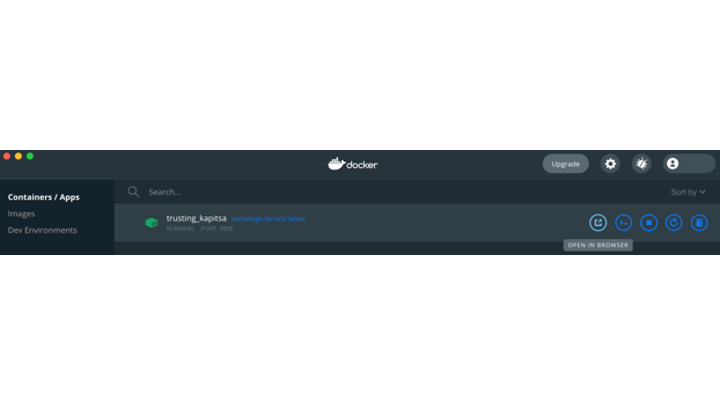
Once the Local Port is set, click ‘Run’ in the Dashboard, you will now see that the image is running. Clicking on Open in Browser will connect your web browser to the container through the Local Port set in the last step.

Docker Dashboard showing that the container is running.
When your browser opens, you should see the ProViz main panel.

The main ProViz panel.
Installing Docker or Docker Desktop and setting configurations to enable the application to work may require administrator privileges as well as additional steps. Contact your IT professional for assistance if you are not familiar with performing these types of operations.
1.2 Example Data
The example data used in this tutorial can be found at SomaLogic’s SomaLogic-Data GitHub repository where you can find a description of the file and the ADAT file format. The example_data.adat file consists of 192 samples (including clinical samples and controls) and is representative of a typical ADAT file SomaLogic customer’s receive.